

Cart
0

Last Updated: November 11, 2026
Quick Summary
The right solar panel size for a camping power station matches the panel's output to the station's input limit and your daily energy needs. A 500 Wh station may work well with 100 to 200 watts of panel, while a 1,000 Wh station may benefit from 200 to 400 watts. Add a margin for cloudy days.
- Start with a 200-watt panel as a practical baseline for most power stations.
- A 500 Wh station may pair well with 100 to 200 watts of panel.
- A 1,000 Wh station may benefit from 200 to 400 watts of solar input.
- Add up device wattage times hours of use to find your daily energy need.
- Check the station's maximum solar input and voltage limits before buying a panel.
Table of Contents
- How Power Station Capacity Sets Your Panel Size
- How to Calculate Your Camping Energy Use
- Solar Panel Size for Camping Power Station Calculator Worked Examples
- Estimating Charging Time With Real-World Sun and Clouds
- Checking Solar Input Limits and Panel Compatibility
- Best Solar Panel Size for Camping Power Station Weekend and Overnight Trips
- Choosing Your Panel and Setting It Up at Camp
- Frequently Asked Questions
Choosing a solar panel size for a camping power station comes down to one thing: matching the panel's output to the station's input limit and your daily energy needs. Roam Ready Outdoor put together this guide to help you size a panel for a weekend trip or a longer overnight stay. A panel that's too small takes forever to recharge your station, and one that's too large can exceed what the station will accept. Here's how to find the right fit.
How Power Station Capacity Sets Your Panel Size
Your power station's capacity, measured in watt-hours (Wh), is the starting point. Smaller stations pair well with smaller panels, and bigger stations need more solar input to recharge in a reasonable time.
OutdoorGearLab recommends starting with a 200-watt panel for most power stations, which makes it a practical baseline for many campers. A 500 Wh station may work well with a 100-watt to 200-watt panel, while a 1,000 Wh station may benefit from 200 to 400 watts of solar input (OutdoorGearLab's power station panel guidance; SolarPlay's panel sizing guide).
- 500 Wh station: 100 to 200 watts of panel
- 1,000 Wh station: 200 to 400 watts of panel
- Larger stations: Check the maximum solar input listed on the spec sheet
Don't treat a panel's rated wattage as its guaranteed output, since real conditions usually reduce what a panel produces.
How to Calculate Your Camping Energy Use
Before you pick a panel, add up what you plan to power each day. Multiply each device's wattage by how many hours you'll run it, then total the results.
For example, a phone that draws 10 watts for 2 hours uses 20 Wh. Add everything together to get your daily need, then compare that number to your station's capacity.
Phones, Cameras and Lights
Small electronics use very little power, so they rarely drive panel size. A phone charge typically takes around 10 to 20 Wh, and a camera battery needs even less. LED camp lights often draw under 10 watts, so a few hours of lighting each night adds up to a small share of your total.
Coolers and Higher-Draw Appliances
Coolers are where most campers underestimate their energy use. A compressor cooler can draw far more than a phone or light, and it runs for many hours a day. Check your cooler's rated watts or daily amp-hour use before you plan your setup. Small appliances like portable fans or blenders add load too, so include them in your total.
The table below summarises the typical device loads and sizing figures the article gives for planning your daily energy use.
| Item | Value | Note |
|---|---|---|
| Phone charge | 10 to 20 Wh | Small electronics rarely drive panel size |
| LED camp light | Under 10 watts | A few hours a night adds a small share |
| Compressor cooler | Many hours daily | Largest source of underestimated energy use |
| Inverter and conversion losses | 10 to 20 percent | Commonly modelled as a multiplier of 1.15 |
| Panel sizing margin | About 1.25 times calculated wattage | Accounts for real output below nameplate |
Solar Panel Size for Camping Power Station Calculator Worked Examples
A sizing calculation only works if every step is explicit, so here is a repeatable method you can run for any trip. Work through the steps in order and keep your numbers written down.
Step 1: List each device and its wattage. Use the label on the device or the manufacturer's spec sheet. If a device lists only amps and volts, multiply them together to get watts. A cooler's compressor often lists a running wattage that is higher than its average draw, so note both if the spec sheet provides them.
Step 2: Estimate daily hours of use. Be realistic about how often a device runs. A phone charged once a day for an hour is a very different load from one charged continuously for a camera and a drone.
Step 3: Multiply watts by hours to get watt-hours (Wh) per device. A 40-watt camp lantern run for 4 hours uses 160 Wh.
Step 4: Add the device totals and add a battery loss factor. Power stations are not lossless. Inverter and conversion losses commonly run in the range of 10 to 20 percent, so multiply your total by 1.15 as a practical middle value. Your battery draw is then the device total times 1.15.
Step 5: Convert daily energy into panel wattage. Divide the required daily Wh by the peak sun hours you expect at your location and season. Peak sun hours vary by region and time of year, so check a solar resource map for your destination rather than assuming a single figure. Then account for real panel output, which is often well below the nameplate rating once heat, dust, and angle are included.
Example 1: Weekend overnight. A phone (30 Wh), two camp lights at 10 watts for 4 hours each (80 Wh), and a small 45-watt-average cooler running 8 hours (360 Wh) total 470 Wh per day. With the 1.15 loss factor, the battery draw is about 540 Wh. At 4.5 peak sun hours, the panel needs roughly 120 watts of nameplate capacity, then the 1.25 margin brings the target to about 150 watts.
Example 2: Longer trip with a compressor cooler. A phone (30 Wh), a laptop charged once (60 Wh), lighting (120 Wh), and a compressor cooler averaging 50 watts for 16 hours (800 Wh) total about 1,010 Wh per day. With losses, the draw is about 1,160 Wh. At 4 peak sun hours, the panel requirement is roughly 290 watts of output, which points to two 200-watt panels or a single larger array depending on the station's input limit.
Watch out: A sizing result that is only just enough on paper leaves no room for a cloudy day, so build in the margin rather than rounding down.
Run this calculation with your own device list before buying, and revisit it if your trip length or your appliances change.
Estimating Charging Time With Real-World Sun and Clouds
Charging time depends on panel wattage, sun intensity, and cloud cover. A 200-watt panel in strong midday sun will charge a station far faster than the same panel on a hazy morning.
Angle your panel toward the sun for the best results. Even a small amount of shade on the panel can cut output sharply. Plan for less charging on overcast days, since clouds can reduce output substantially.
Consider sizing for consecutive cloudy days, not just one sunny afternoon. If your trip includes a few gray days, a larger panel or a bigger station gives you more margin.
Checking Solar Input Limits and Panel Compatibility
A panel's wattage does not guarantee it will work with your station. The station's input specifications decide what it can accept, and exceeding them can trigger a protective shutdown or reduce charging speed.
Where to find the limits. Look for the solar input section of the station's spec sheet or manual. You need four values: maximum input power in watts, the acceptable input voltage range (often expressed as a minimum and maximum open-circuit voltage), the maximum input current in amps, and the connector type. Write these down before you shop.
Voltage and current. Solar panels produce a voltage that depends on how many cells are wired in series inside the panel and on temperature. Cold weather raises open-circuit voltage, which can push a panel above the station's maximum input voltage on a clear, cool morning. Check the station's voltage ceiling against the panel's open-circuit voltage at its coldest expected temperature, not against the rating printed for standard test conditions.
Connectors. Many stations use MC4 connectors, but some use proprietary plugs or barrel connectors. A panel with the right connector type can still be incompatible if the polarity or pin count differs, so confirm the connector and use the adapter the manufacturer supplies or recommends.
Series and parallel wiring. Two panels wired in series add their voltages and keep the current the same, which suits stations that need higher input voltage. Two panels wired in parallel keep the voltage the same and add the currents, which suits stations with a low voltage ceiling but adequate current capacity. Confirm that the station accepts your chosen configuration before you connect anything.
Watch out: Exceeding the maximum input voltage can damage the station's charge controller, so never assume a higher-wattage panel is safer to connect.
If your station's limits are not clear from the manual, contact the manufacturer with the panel's open-circuit voltage, short-circuit current, and connector type, and ask them to confirm compatibility in writing before you rely on the setup in the field.
Best Solar Panel Size for Camping Power Station Weekend and Overnight Trips
For a weekend trip, a 100 to 200-watt panel usually covers phones, lights, and a small cooler with room to spare. Longer overnight trips with heavier loads, such as a compressor cooler running all day, call for 200 watts or more.
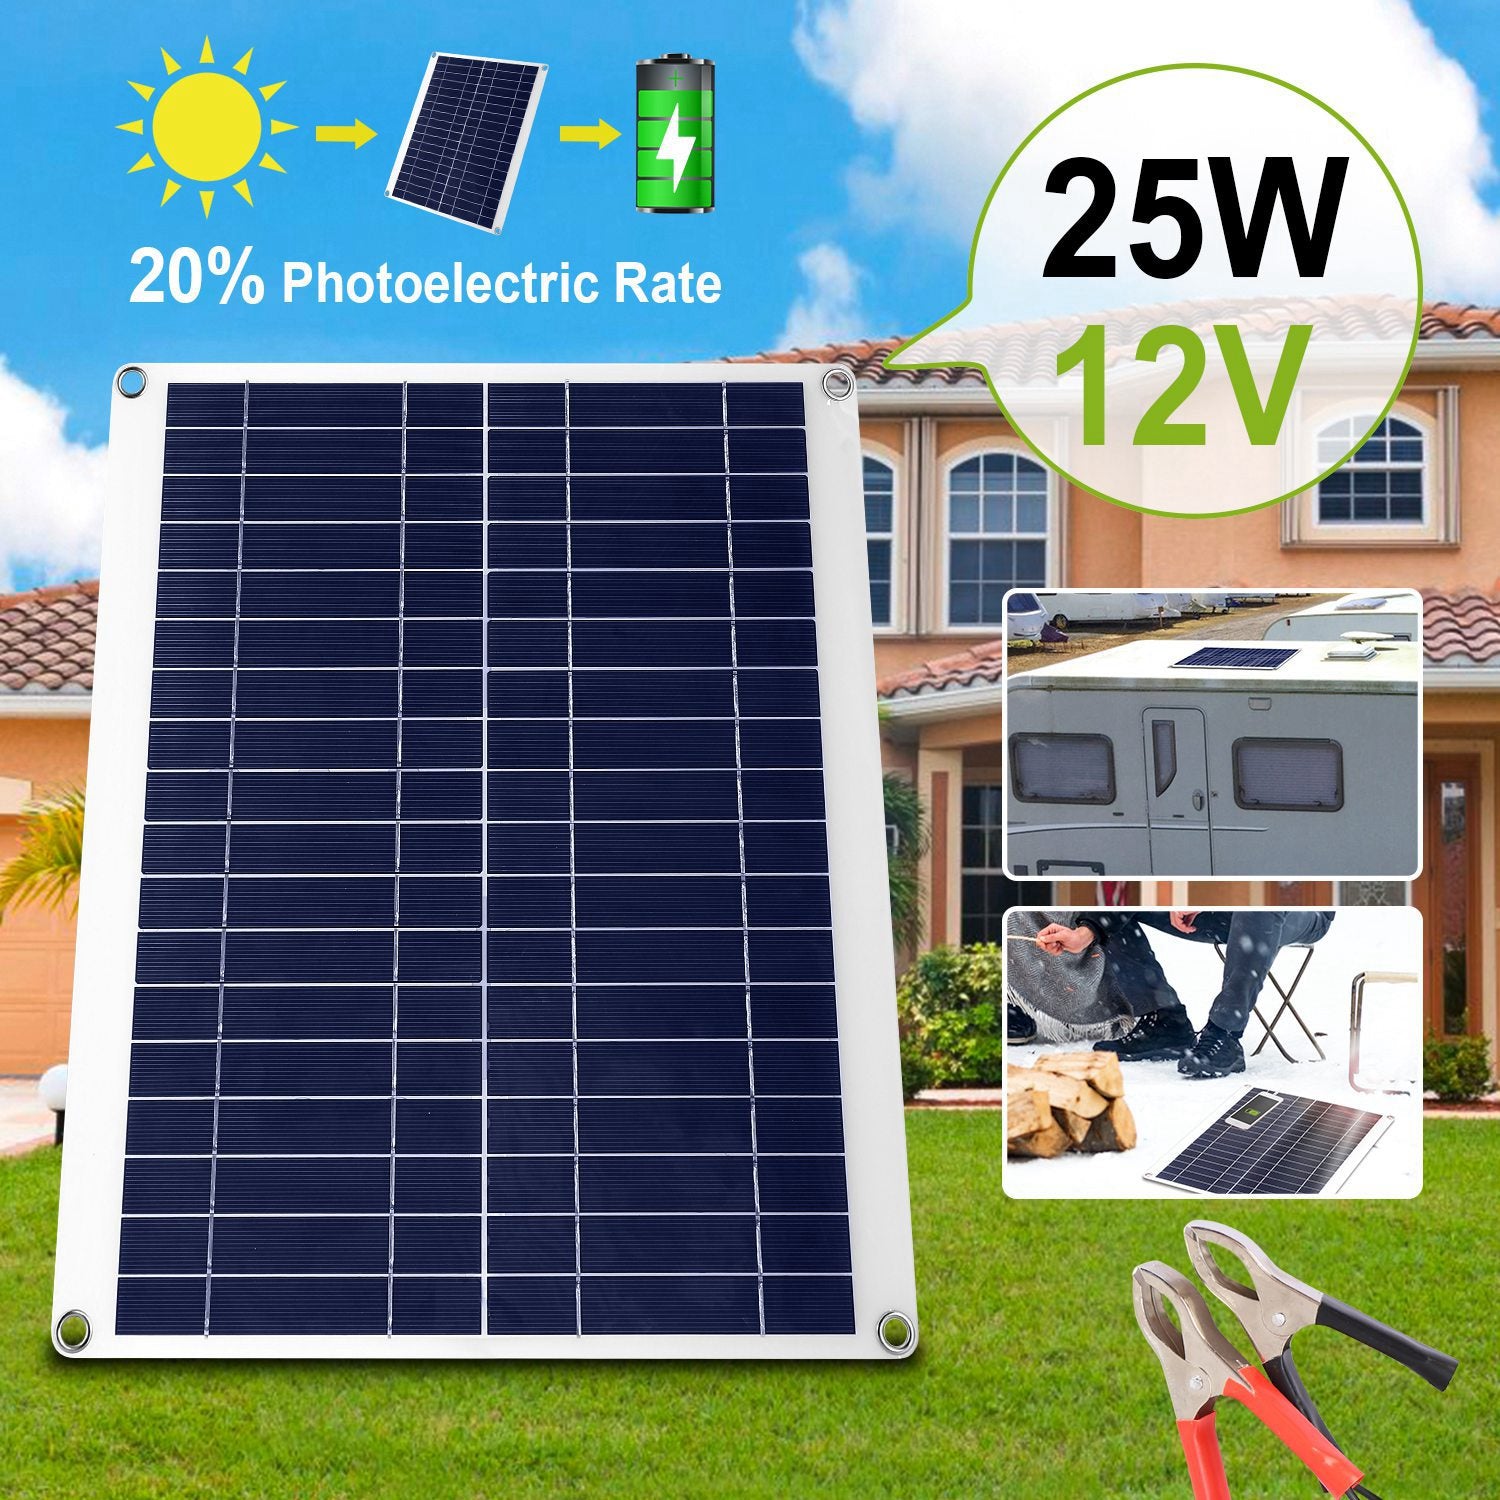
If you're only topping up a small battery or vehicle, a low-wattage option works well. The 1Pc Outdoor Solar Panel 12V 25W Car Battery Charger is designed for charging 12V batteries and USB devices.
If you're still deciding between a power station and a battery bank, our guide on how to choose between a portable solar generator and a battery bank can help. You can also browse alternatives to traditional solar generators before settling on a panel size.
Choosing Your Panel and Setting It Up at Camp
Once you've picked a size, set up your panel where it gets the most sun. Lay it flat on a stable surface or prop it at an angle facing the sun, and check it every few hours as the sun moves.
Keep the cables short and connected securely, and keep the station in shade so it stays cool. Start by matching your panel to your station's input limit, then add a little extra capacity for cloudy days. That combination gives you reliable power without overbuying.
Ready to find your setup? Browse Roam Ready Outdoor's solar range and pick the panel that fits your station and your trip.
Frequently Asked Questions
What size solar panel do I need for a camping power station?
A common starting point is a panel of about 100 to 200 watts for a 500 Wh station and 200 to 400 watts for a 1,000 Wh station, as a general planning range. Confirm the station's maximum solar input before buying, since a panel larger than that limit may not charge faster. Roam Ready Outdoor's 100W and 200W monocrystalline panels give you two straightforward sizes to compare against your station's rating.
How long does a solar panel take to charge a camping power station?
Charging time depends on panel wattage, the station's battery capacity in watt-hours, and how much sun you actually get. Divide the station's watt-hours by the panel's real output, then adjust for shade, cloud cover and angle. Real output is usually lower than the rated wattage, so plan for longer charge times than a simple division suggests, especially on overcast days.
Can I use any solar panel with a portable power station?
Not always. A panel's wattage alone does not establish compatibility. The panel generally needs to match the station's solar-input voltage, current limits, connector requirements and maximum charging capacity. Check the station's manual for its solar input range and confirm the connector type before buying a panel. The Roam Ready Outdoor 100W and 200W panels include a built-in MC4 cable, which you should match to your station's input.
Is a 100W solar panel enough for camping?
A 100-watt panel can keep small loads running, such as phone and camera charging and camp lights, on a sunny day. It will struggle to fully recharge a larger station or run higher-draw appliances like a cooler for long periods. For weekend trips with modest needs it can work well, while overnight trips with a cooler usually call for a larger panel or a second one.


